When I decided to make our spare bedroom cozier for our guests, I knew one thing: I didn’t want to spend a lot of money. We’ve already done some major renovations on our house and this wasn’t one I wanted to break the bank for. Luckily, I didn’t have to. My husband and parents are always up for the many DIY challenges I throw their way and I’m so grateful for it. I say it every time we remodel, but I truly couldn’t bring my ideas to life without their help (and we all know I have a ton of grand ideas lol)!
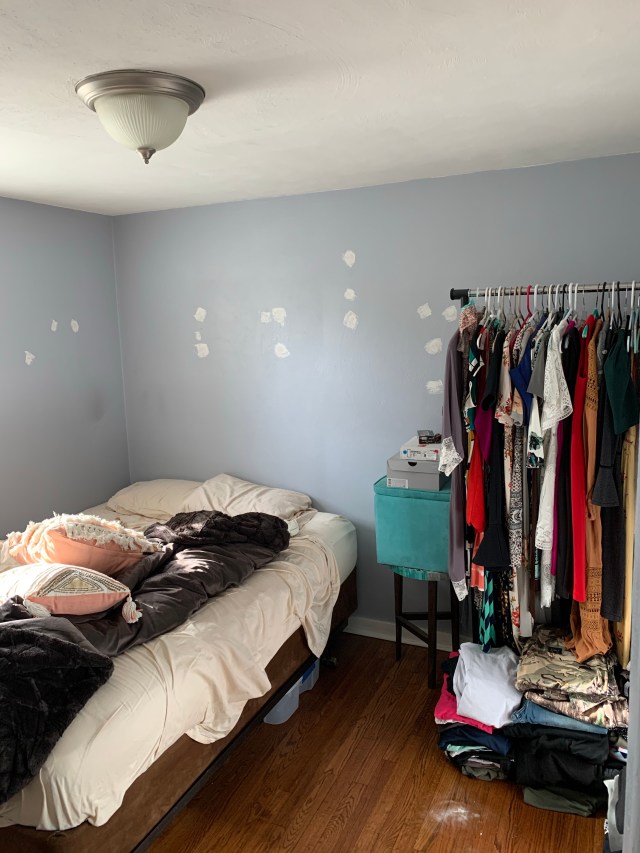
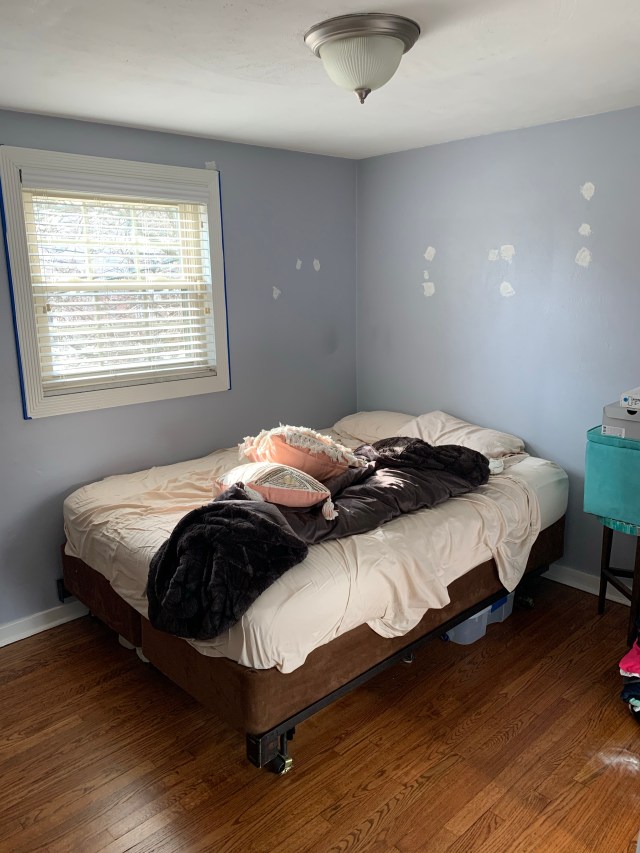
To be honest, before we started the spare bedroom renovation, the room was just an extra storage space for us. We have a small, two-bedroom house with tiny closets (tell me you live in an old house without telling me you live in an old house). When we had guests stay, we had to scramble and hide all of the clothes and random decor that was thrown in the room. I was determined to change that.
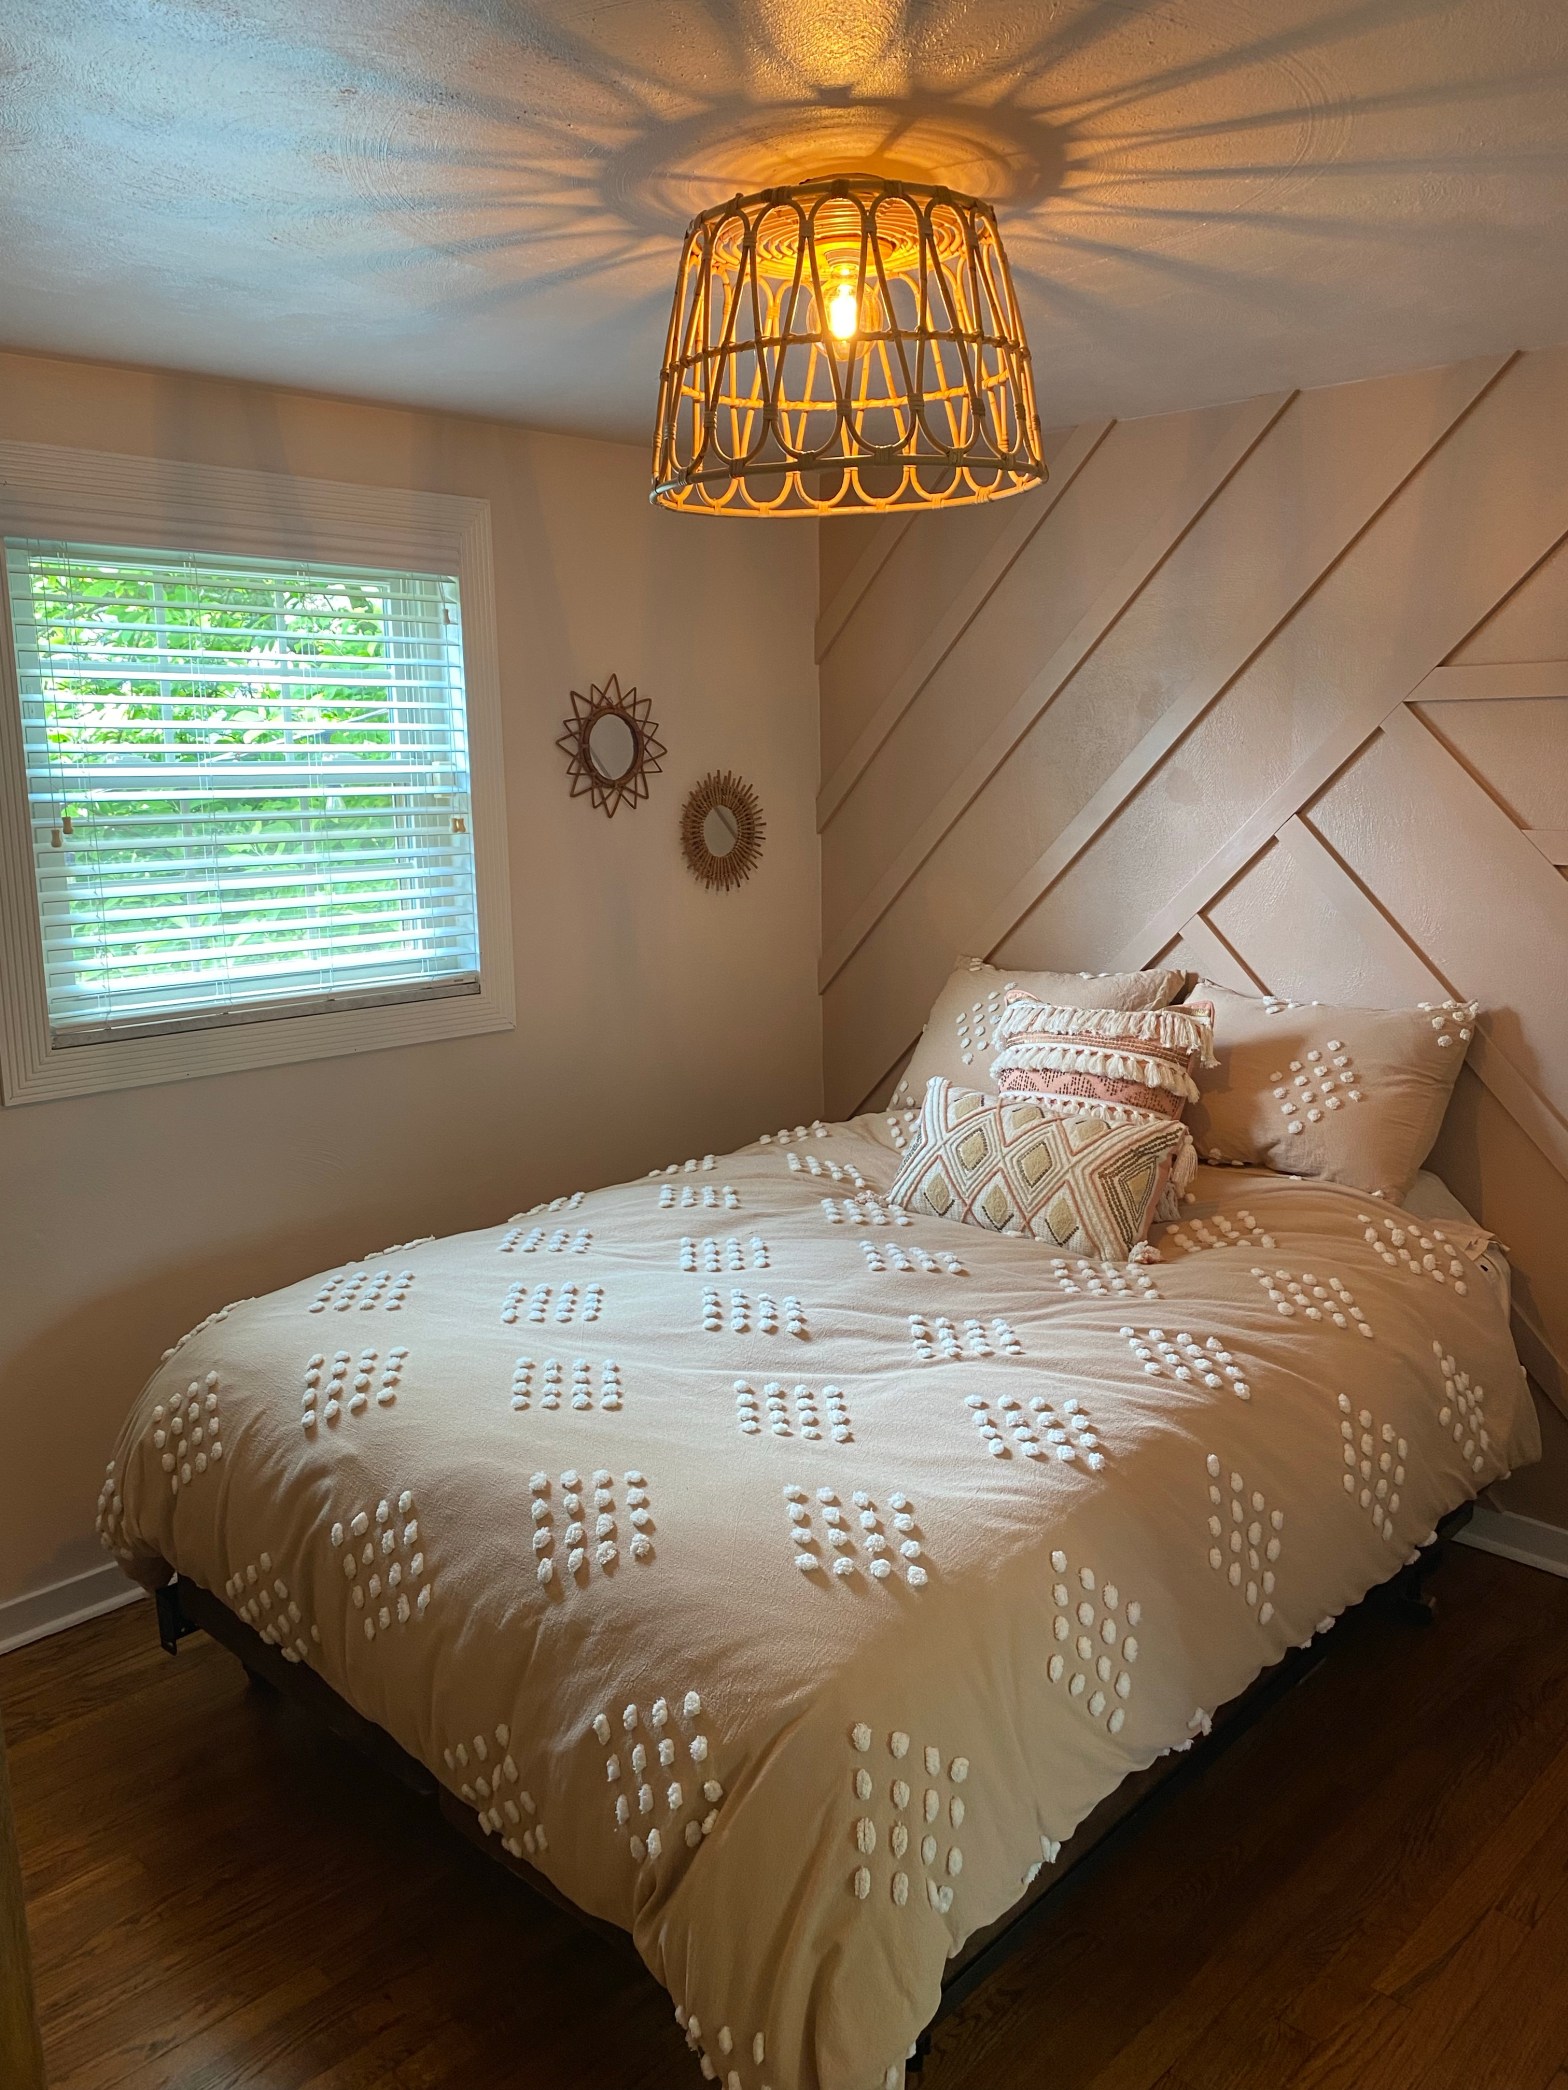
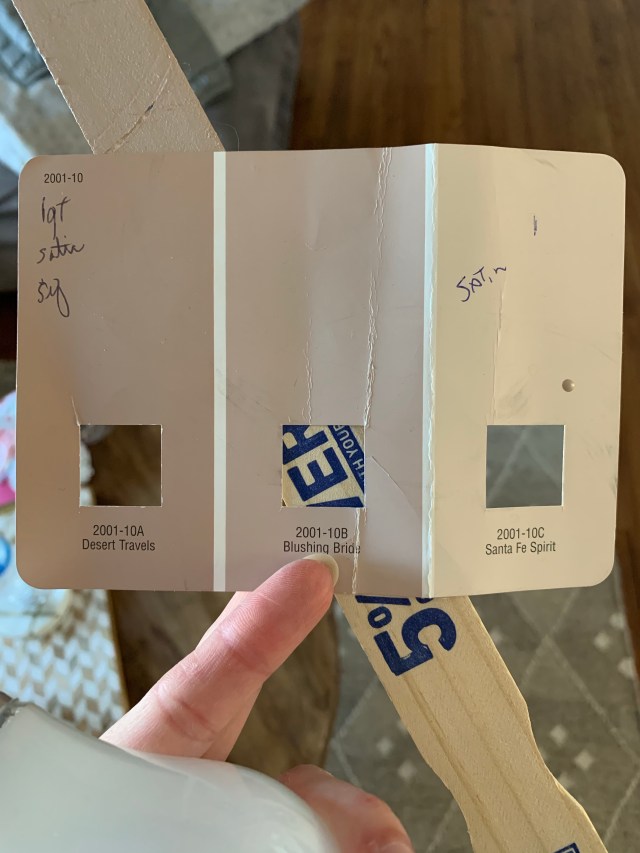
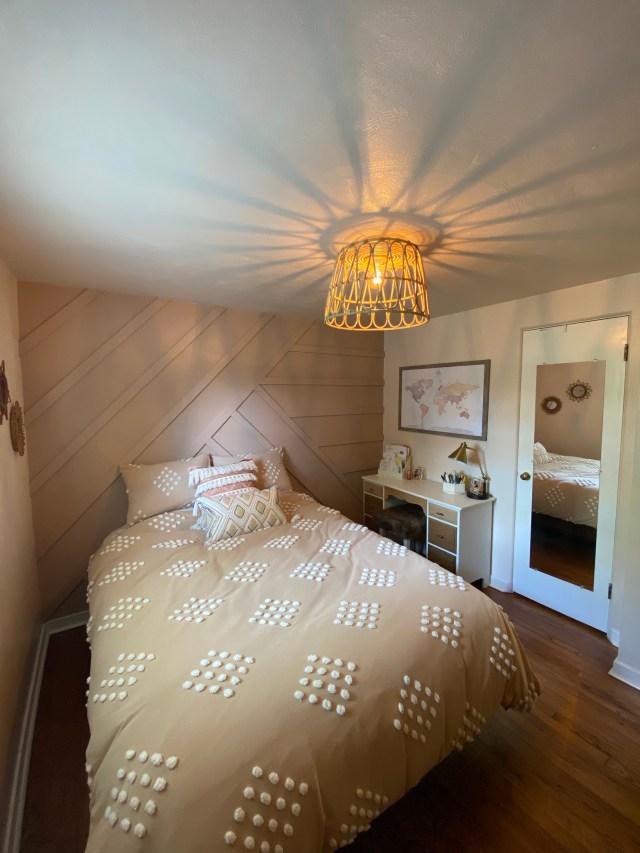
I wanted the room to be bright and fun instead of blue and boring, so we started with a fresh paint job. I always stick to neutrals because that’s just what I like best. I chose Valspar’s Santa Fe Spirit for most of the walls and Valspar’s Desert Travels for the accent wall. In my opinion, painting is the easiest way to bring new life to an old space without breaking the bank — and it changes the entire mood of a room. I know it’s tedious and annoying work, but it’s always worth it.
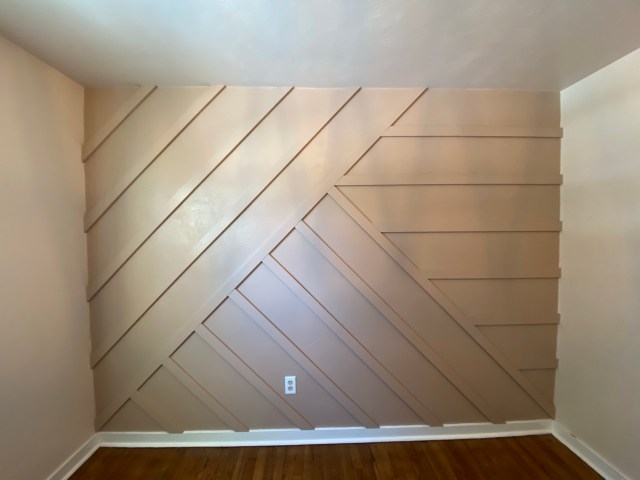
BEFORE:
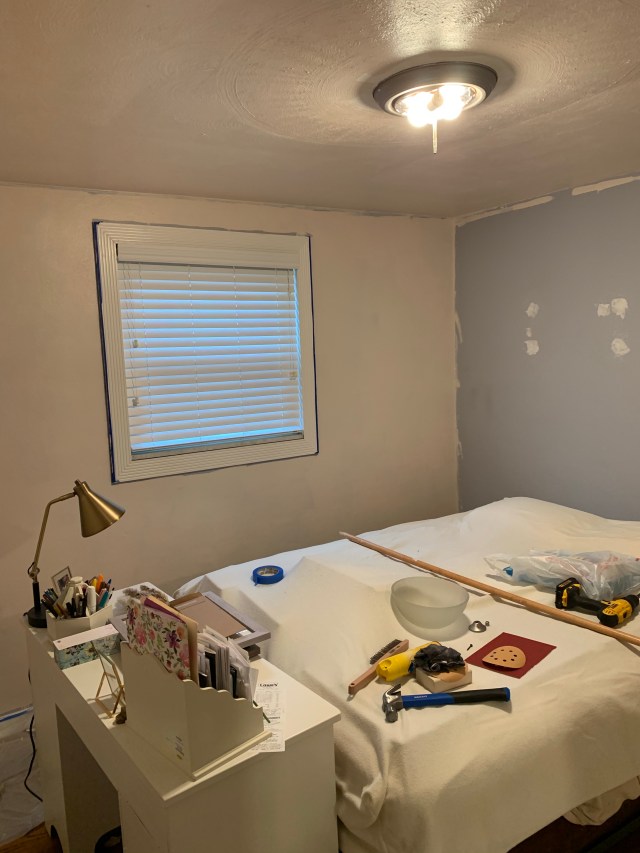
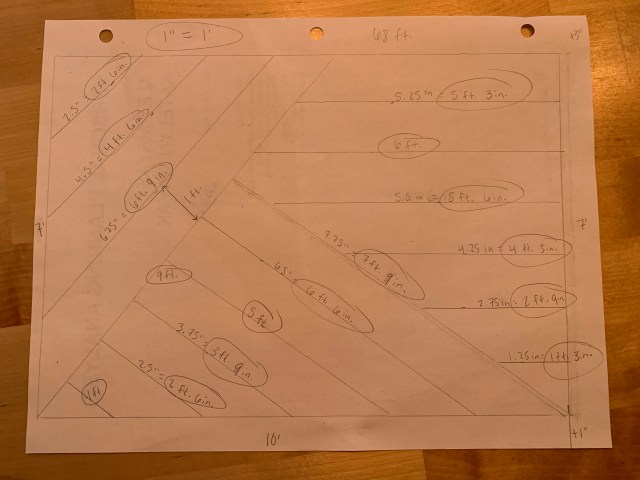
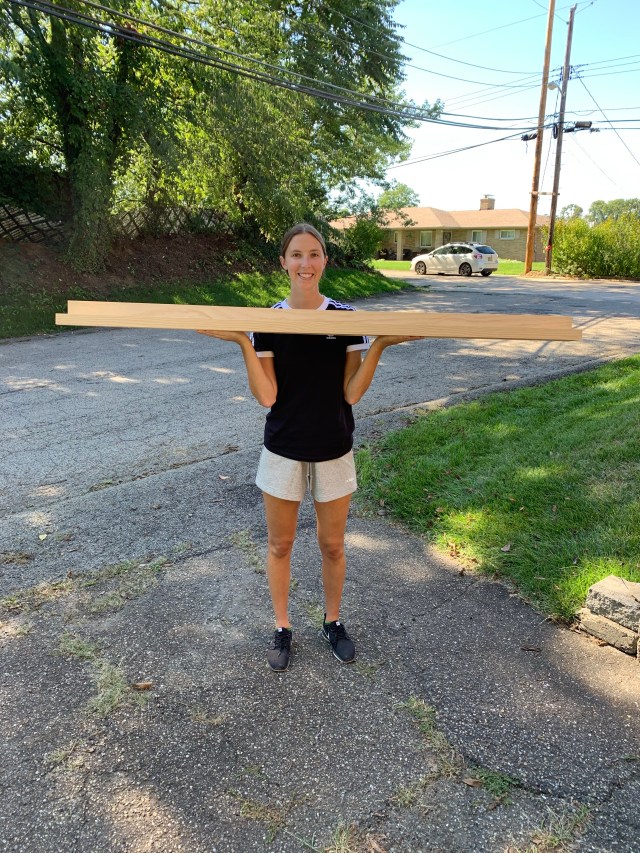
Of course, painting alone would be too simple for me. I decided the room needed an accent wall and had seen a geometric design made out of boards on Pinterest that I couldn’t get out of my head. I started drawing up my own design to get a ballpark for how many boards we needed to buy:
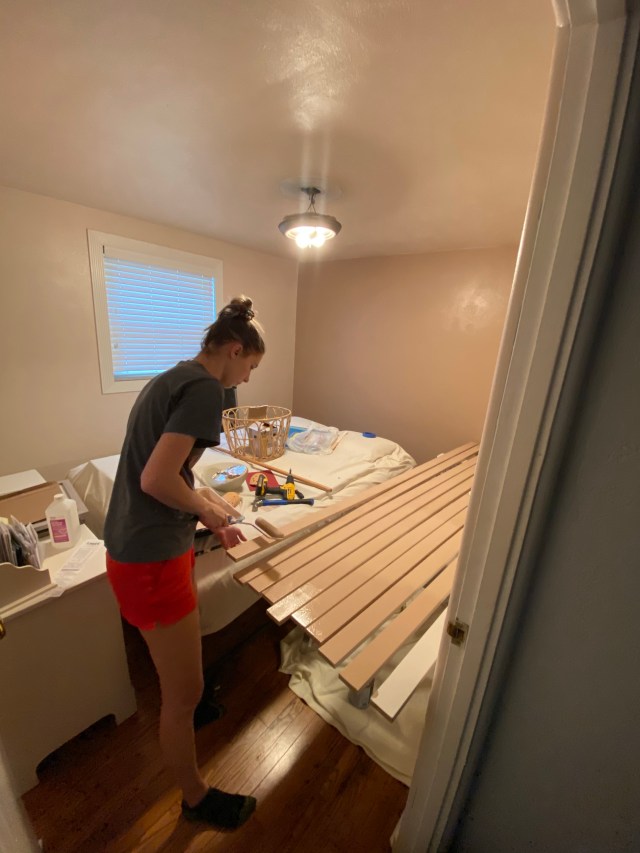
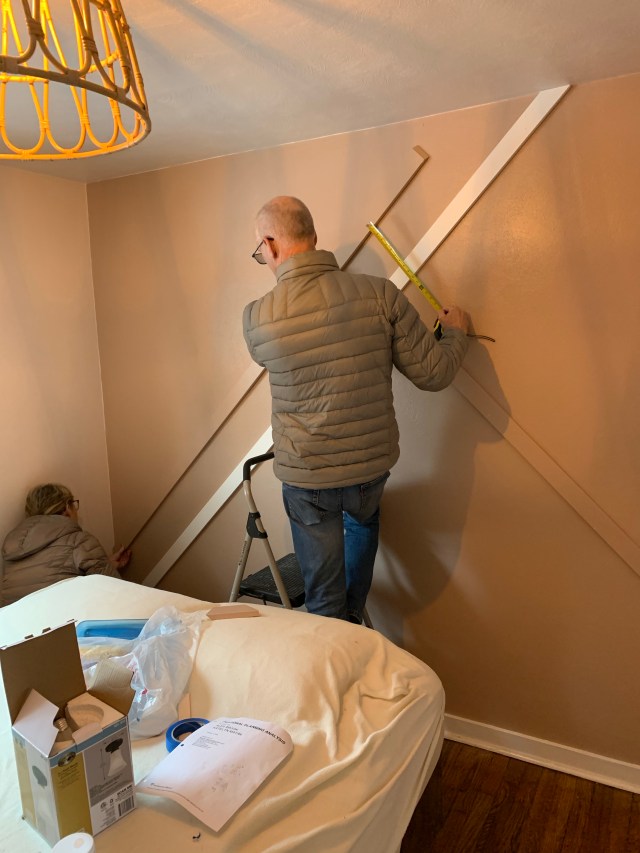
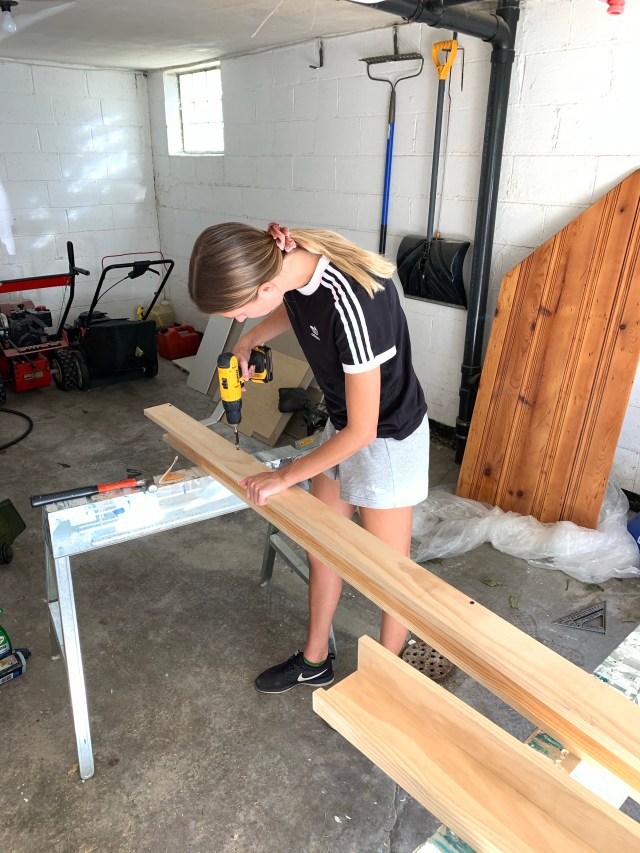
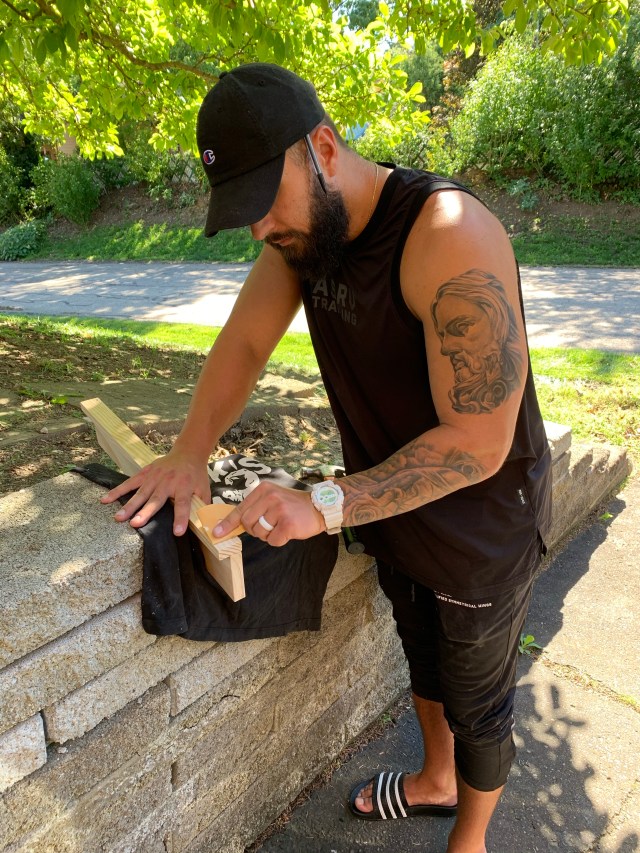
We ended up buying MDF boards (something we rarely do), but since they were purely for display, it made sense to go cheaper. I painted all of the boards before we hung them, but we ended up having to touch them up quite a bit afterwards so it might make sense to paint once they’re on the wall. We started by hanging the longest board first and worked our way out from there. It was harder than I thought to get all of the measurements and angles precise. Thanks for your help (again), Dad!
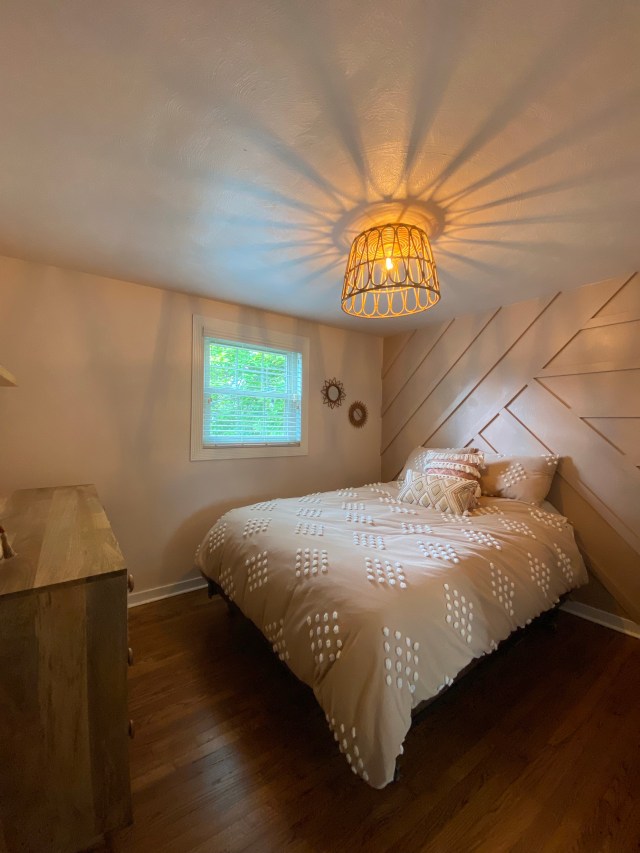
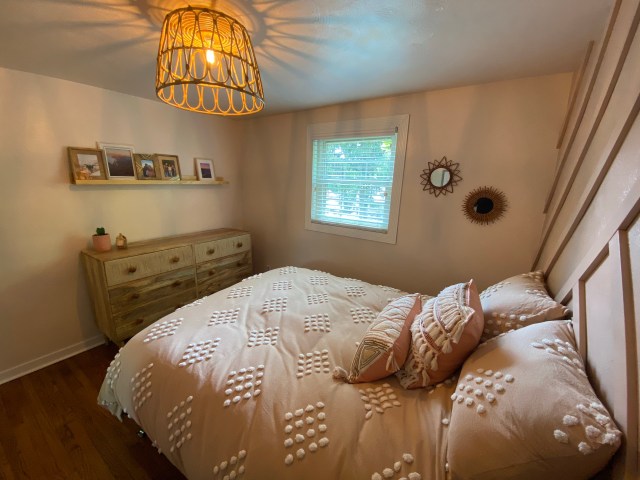
Since the hardwood floors were already finished, the only other task we had was to decorate! I wanted a certain look for the light, but couldn’t bring myself to spend $200-$300 for one (why are lights so expensive?!). I found a few bloggers who used baskets to make their own and was hooked. I bought this basket from Ikea for $25, ripped the handles off with pliers, cut a hole in the bottom of it, and then mounted it to a semi-flush light (like this one from Lowe’s for less than $10). Ta-da! Insert cheap, pretty light:
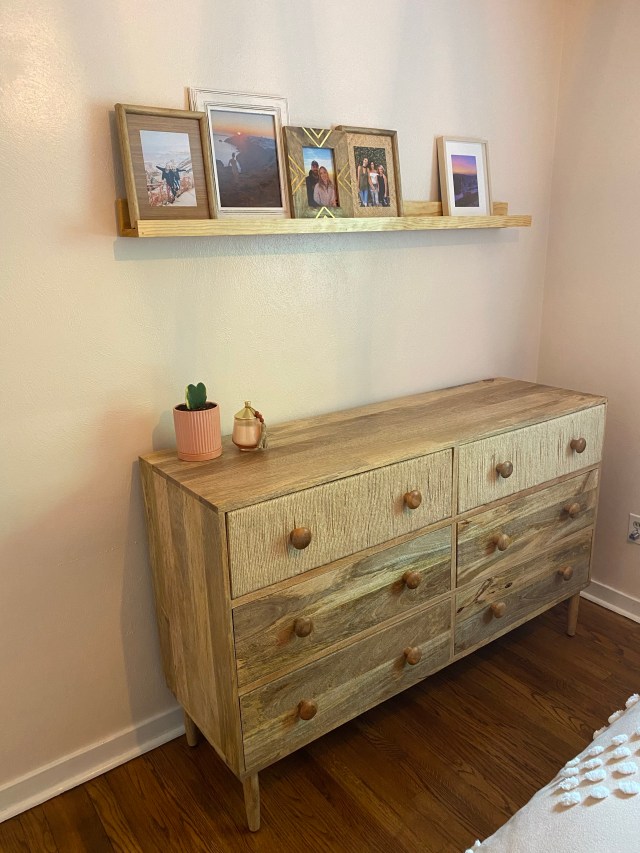
We also made our picture ledge shelf by ourselves, too. I’m not convinced it was cheaper than buying one, but it was an adventure and time spent together. We used pine and sealed it with poly.
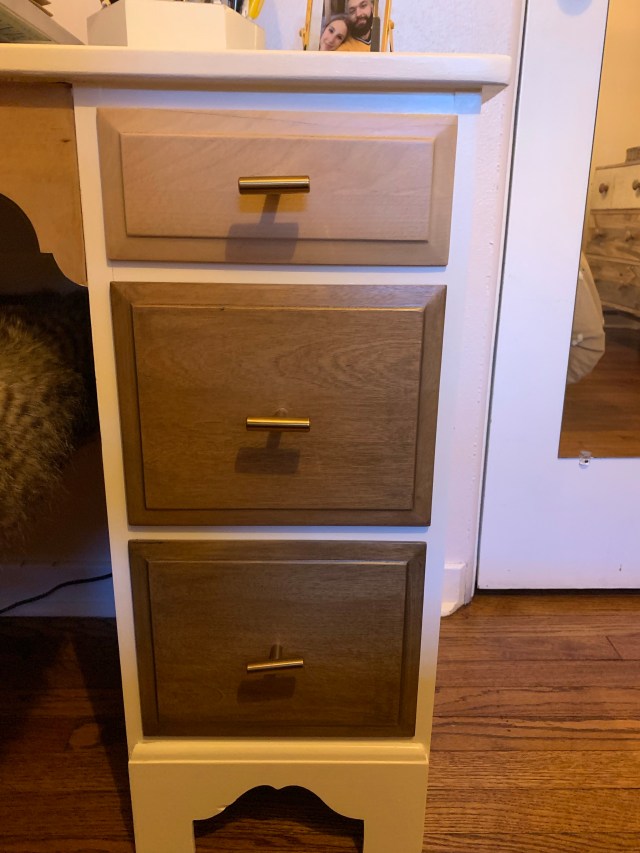
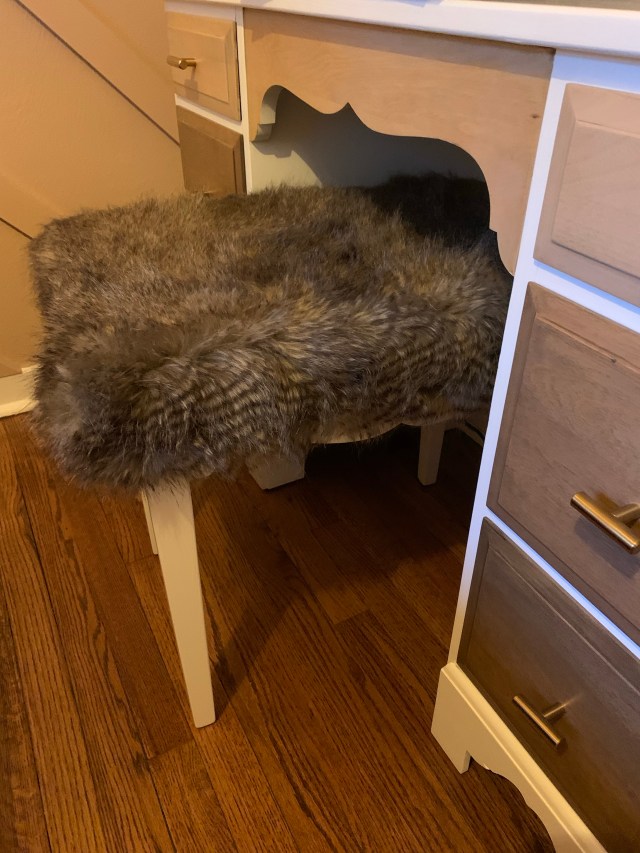
As for the furniture, the desk was from my childhood bedroom and I refinished it a few years ago. It just so happened to match the theme of the room, so we didn’t do anything else to it. When we were re-doing it the first time, we used white paint and then stained the drawers different shades of brown and added gold bar handles. My mom also added padding and fur to the wooden seat. It’s different and it’s so me. I’ve always loved how it turned out!
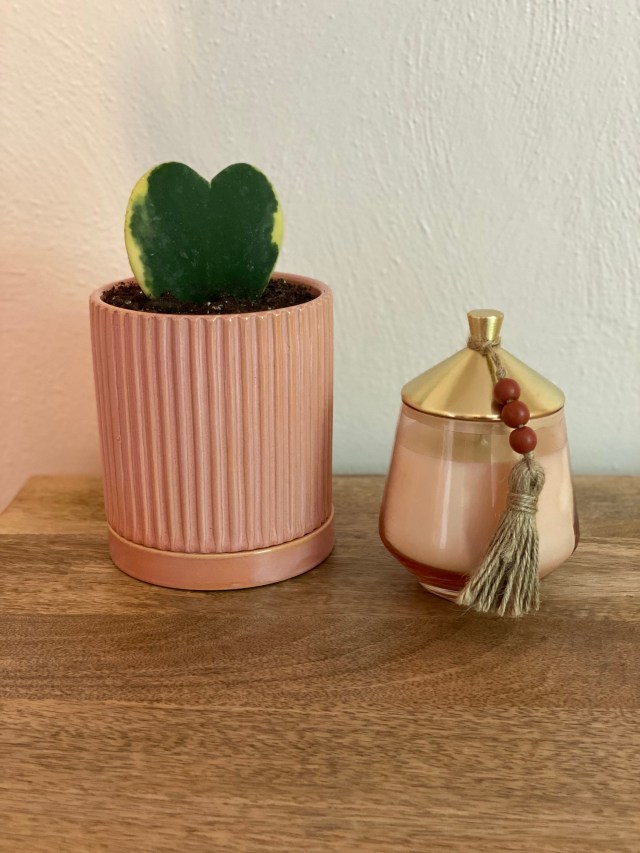
For the finishing touches, like a cute bedspread and wall hangings, Urban Outfitters had everything I wanted. I don’t shop there, so it was completely by chance. They just had what I was looking for (and yes, the dresser was a splurge, but nothing else compared once I fell in love with it). I’m still finding new pieces at TJ Maxx and Target when I go shopping. They are my staple stores (sorry about the *$15 candle* Alex — it just matched the vibe).

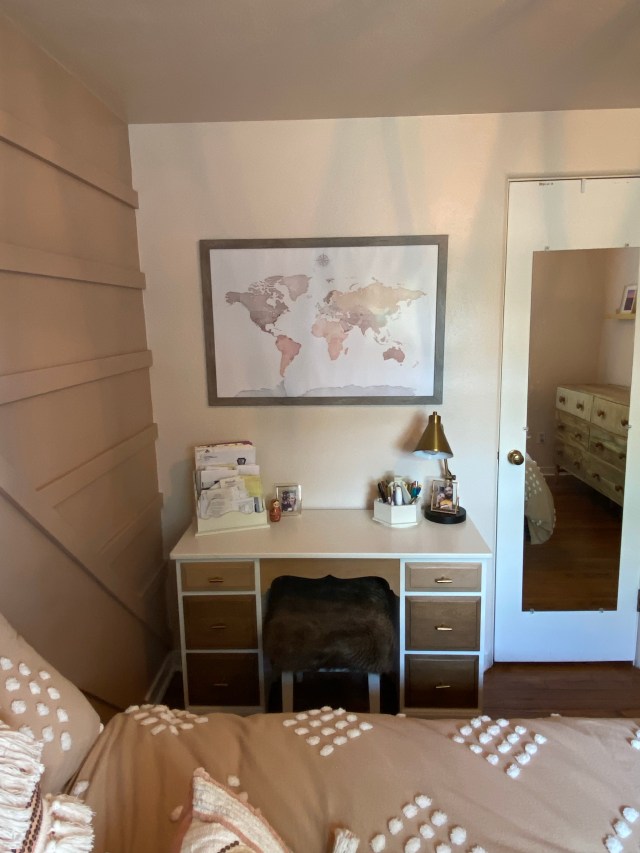
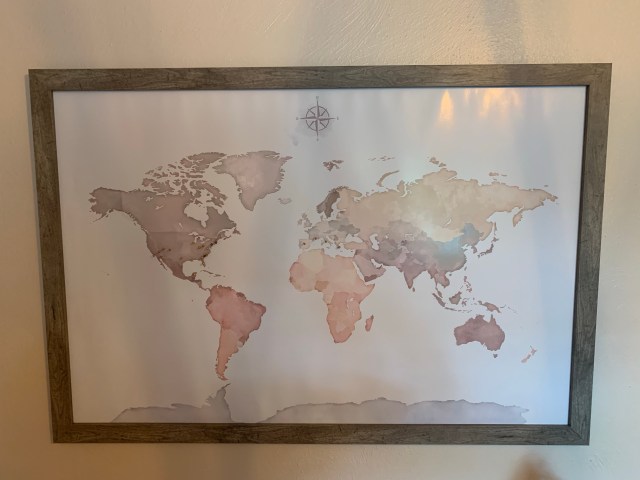
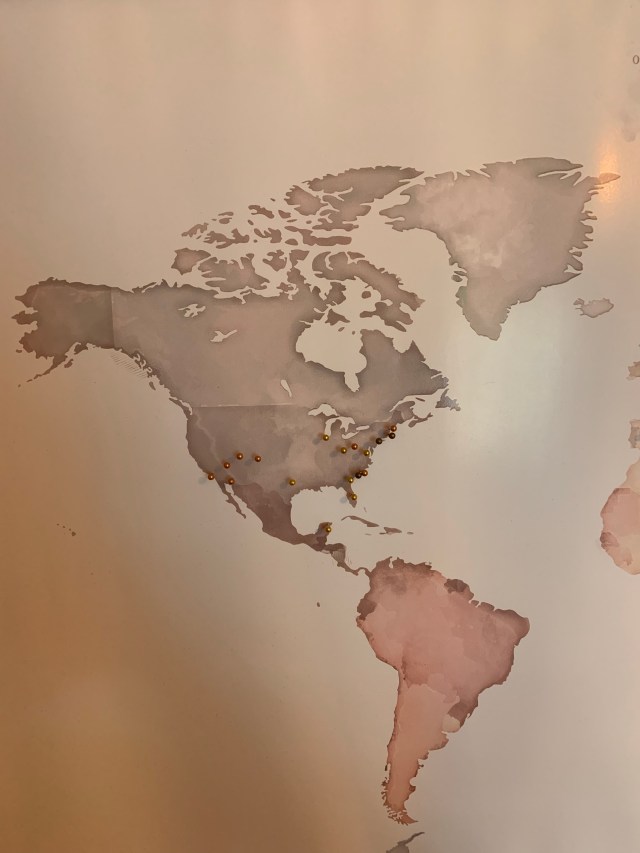
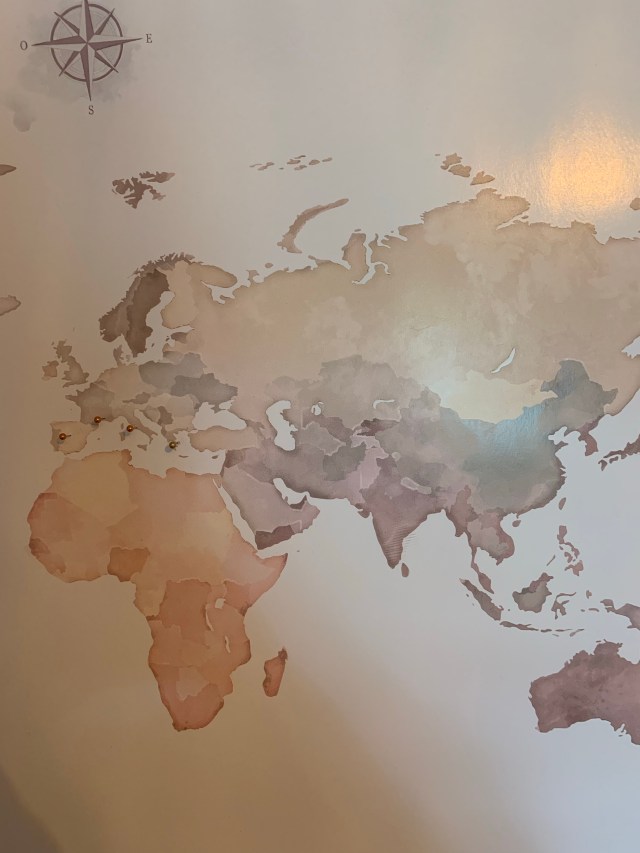
I’ve also deemed it our travel room because you can find little pieces of all the places we’ve visited sprinkled throughout. I have a push-pin world map where I document all of the places I’ve been. It hangs above the desk and was also a DIY piece. I ordered a downloadable map from Etsy and added cork board to the back before placing it in a large frame. Michaels always has good deals on large frames, which is where I got mine.
Each photo on the picture ledge represents our favorite trips and travel memories (hiiii Colorado, Los Angeles, Phoenix, and Santorini). It’s not finished because I’m still hunting cute picture frames, but if we wait on that, we’ll be waiting a long time. We also have trinkets from Israel and Russia that we decorated with to remember and honor my Grandma.
I can’t wait to fill it with more of the places we love. It’s the perfect combination of us: loving our tiny home in Pittsburgh and remodeling to make it exactly what we want, but never losing our passion for traveling the world. Cheers to the best of both worlds — home and a far. Thanks for keeping up!

This room turned out so nice. I love the style that you have chosen. I also like how you incorporate your love of traveling and have a place to share your favorite places! ♥️
LikeLike